How to reduce the size of file in Microsoft Office

 Summary:
To reduce the file size and conserve disk space, you can compress the images within your document. The compression settings adjust the file size and image dimensions based on your intended use, whether for on-screen viewing or inclusion in email messages. You have the option to compress all images in the file or selectively compress only the ones you choose.
Please note that these features are exclusive to the desktop versions of Office apps and are not available in Microsoft 365 for the web. To learn how to reduce file size, follow the steps below:
PAGE CONTENT:
- Reduce the file size in Microsoft Office on Windows
- Optimize Image Process with Shortcuts
- Reduce the size of jpg file with Image Compressor
Reduce the file size in Microsoft Office on Windows
When an image's quality is sufficient without every pixel, compressing it can significantly decrease the file size.
1. Open your file in the respective Microsoft Office application and select the image or images you wish to compress.
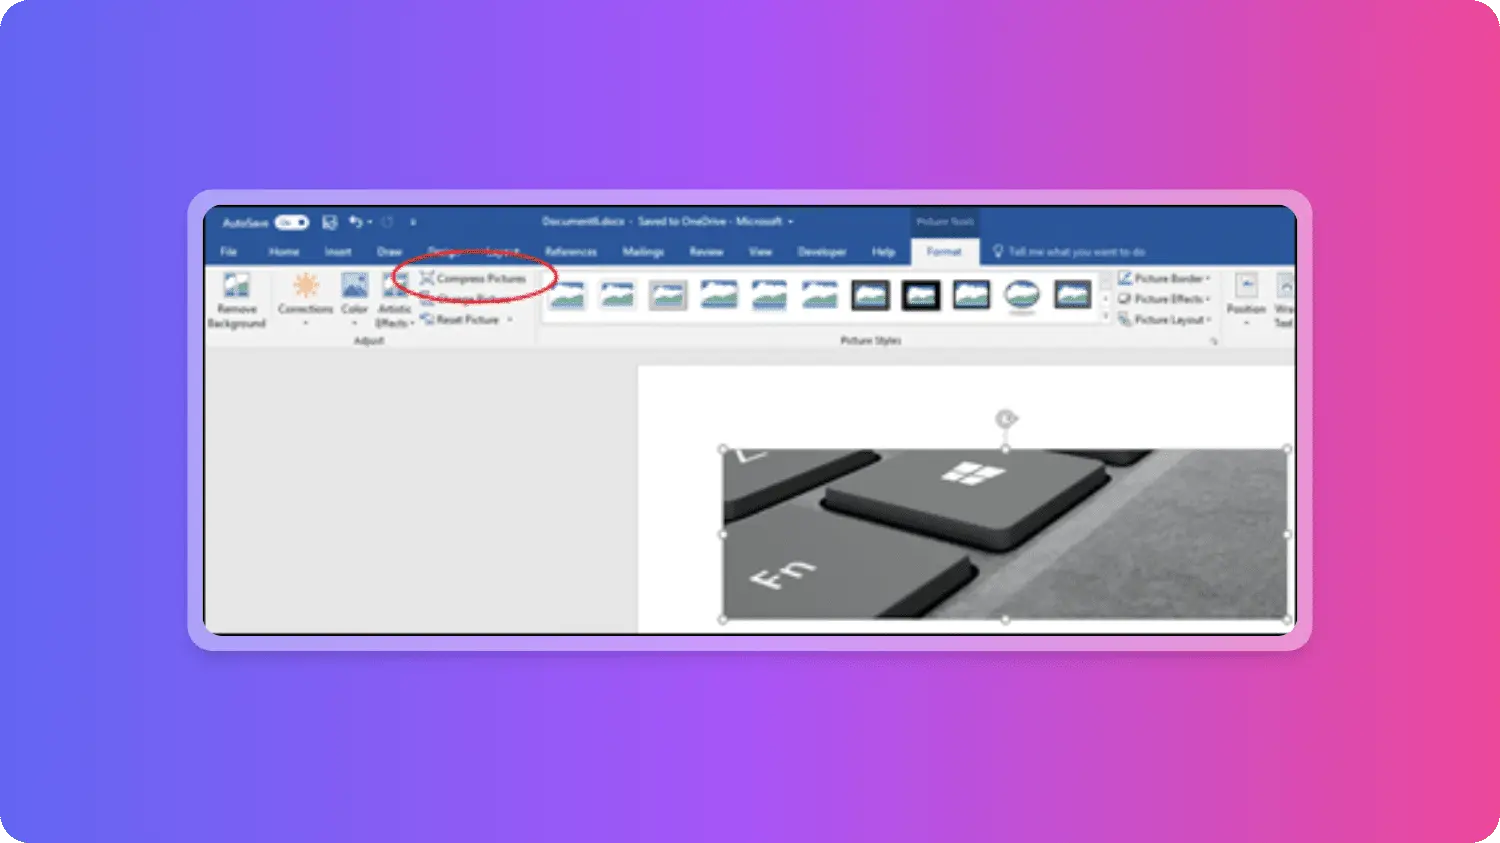
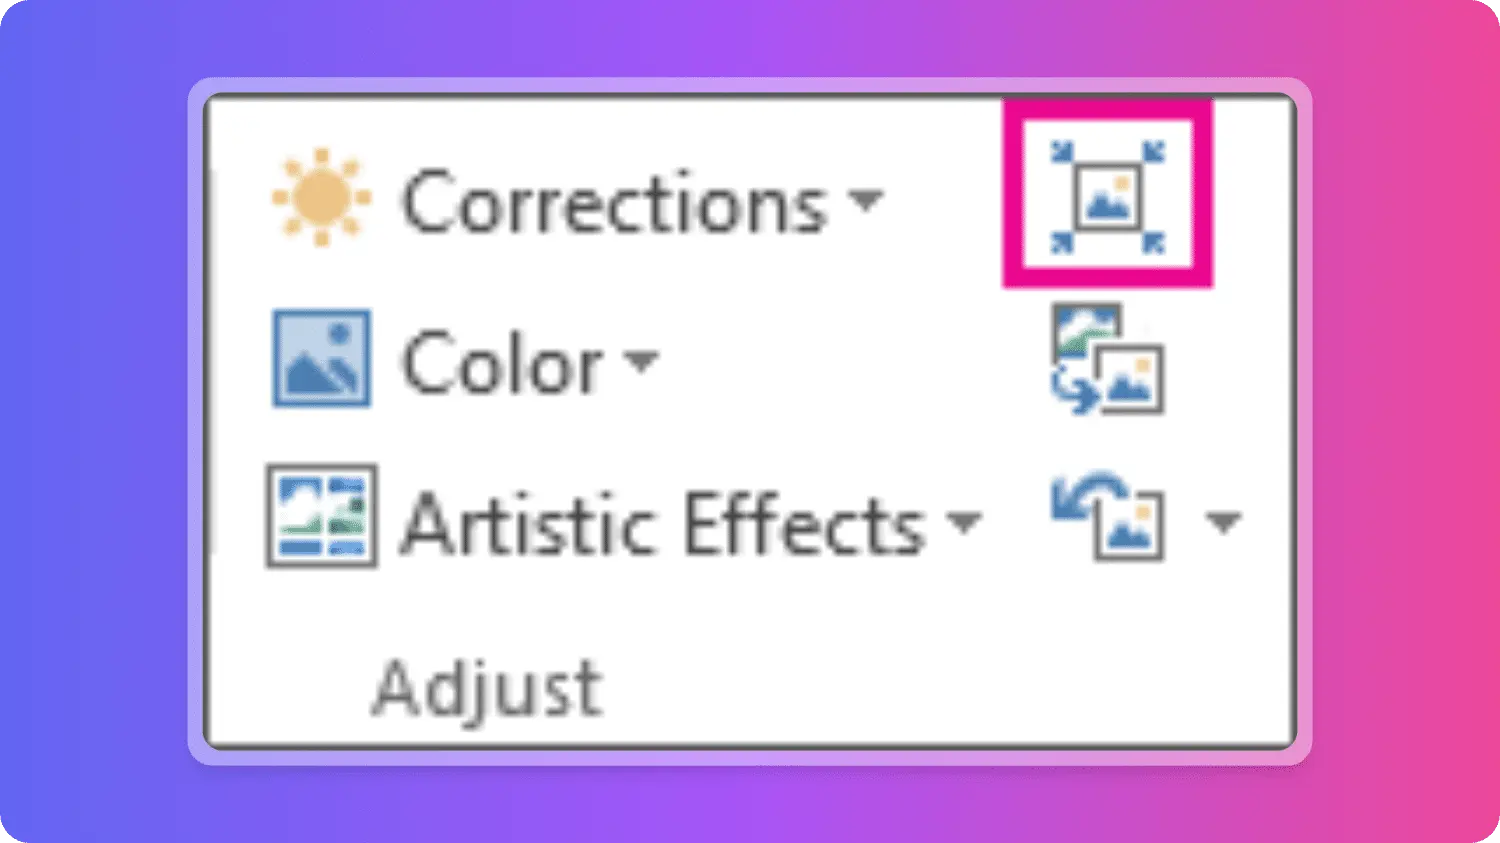
2. Locate the Picture Tools tab under the Format section. In the Adjust group, click on Compress Pictures.

If the Picture Tools - Format tab is not visible, ensure you have an image selected. Sometimes, double-clicking the image will activate the Format tab.
Depending on your screen size, you might only see the icons for the Adjust group, with the Compress Pictures button appearing unlabeled.

3. To compress only the selected images and not all images in the document, tick the Apply only to this picture checkbox.
Unchecking this box will reset any previous individual image compression settings you made within the document.
4. In the Resolution section, choose the desired resolution and click OK to apply the compression.
Reduce the file size in Microsoft Office on macOS
How to reduce the file size in Microsoft Office on macOS, please follow these steps:
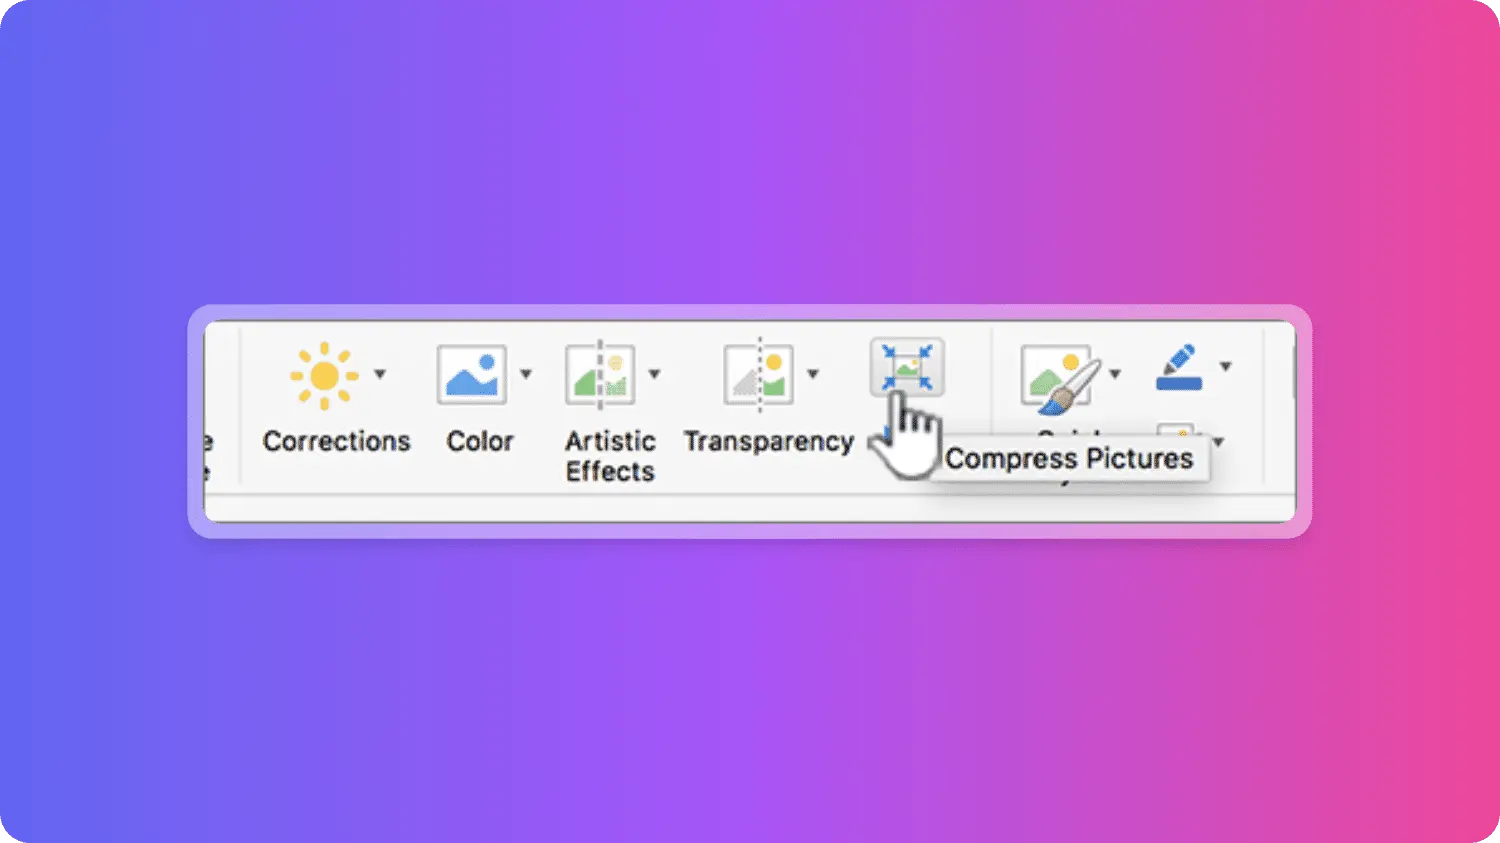
1. To reduce the file size of all pictures in your document, navigate to the ribbon and select File > Compress Pictures (or if the option is different, it might be File > Reduce File Size).

To reduce the file size for only selected pictures, hold down SHIFT, click the pictures you want to compress, and then click Compress Pictures button on the Picture Format tab.
2. In the Picture Quality section, choose an option from the list. Keep in mind that the highest resolution is listed first, while the lowest resolution is listed last.
Tip: If you've cropped any pictures, you can further reduce the file size by selecting the Delete cropped areas of pictures checkbox. This will remove any unused portions of the images, thereby reducing their overall size.
3. Click Selected pictures only or All pictures in this file.
Note: If you chose to compress all pictures in step 1 using the File menu, these options may not be available, and compression will automatically be applied to all pictures in your document.
Reduce the size of jpg file with Image Compressor
If you have a large number of images that need to be compressed, or if you're compressing images for web pages and other purposes, reducing their size in Microsoft Office might not be the most convenient option. In such cases, an Image Compressor like Amagicsoft Image Compressor can better meet your needs.
Free online image compressor for reduce the size of jpg and other types! Reduce the file size of your WEBP, JPEG, and PNG images with compression implementation based on Webassembly. Batch image compression, supports JPG/JPEG/PNG/WEBP/GIF/SVG/AVIF formats. it is purely local compression without any server-side logic, it is completely safe.

Click Image Compressor to compress image online now.
 Erin Smith
Jul 27, 2024
Updated:Feb 09, 2025

Subscribe to know first
Our mail pigeon will bring you our best deals and nows about Magic apps.
 Recovery Key
 Photo Editor
 Screenshot Beautifier
 Photo To Rounded
 Image Compressor

 Table of Content


 Subscribe Now

