Recovery Key
 Photo Editor
 Screenshot Beautifier
 Photo To Rounded
 Image Compressor

 Table of Content


How to Take a Screenshot on Computer and Edit Screenshot

 Summary:
Taking screenshots is an essential skill for anyone who uses a computer regularly, whether for work, study, or personal use. Capturing an image of your screen can help you quickly share information, document a problem, or simply record something interesting you've found online. But what if you want to make your screenshot look more professional or visually appealing? In this article, we'll guide you through the process of taking a screenshot on your computer and editing screenshot to enhance its visual appeal.
PAGE CONTENT:
How to Take a Screenshot on Windows Computer
How to Take a Screenshot on Mac Computer
How to Edit Screenshot Online
How to Take a Screenshot on Windows Computer
The fastest way to take a screenshot on Windows computer is by pressing the Print Screen key on your keyboard, which may be labeled as PrtSc, PrtScn, or simply Print Screen. Using this method, your entire screen will be captured and saved as a PNG file.
1.Locate the Print Screen key on your keyboard.

2.On the screen that you want to take a screenshot of the entire screen, press the Windows + Print screen keys.

3. Your screenshot will automatically be saved in your Pictures library, in a folder called Screenshots, you can locate it to check.
Note:
On certain keyboards, the Print Screen function may be assigned as a secondary action to another key. In such cases, you might need to press the Fn key in combination to activate it.
How to Take a Screenshot on Mac Computer
There are three ways to take a screenshot on Mac with keyboard shortcuts, and a fourth method if you have a MacBook with a touch bar. We'll show you how to take a screenshot on Mac using the various keyboard shortcuts listed in this guide.
Command + Shift + 3 (Full Desktop Screenshot)
This keyboard shortcut captures a screenshot of your entire screen.

Command + Shift + 4 (Select Area for Screenshot)
This key combination will transform your cursor into a crosshair, You can then drag it to select a portion of your screen to capture. To actually take the screenshot, release the mouse button or trackpad.

After pressing Shift-Command-4, you have a few more options:
1.Press and hold space bar to transform crosshair into camera icon, move over open window.
2.Click on window to screenshot, gets white border and shadow.
3.After dragging area, press space bar to move selection without changing size.
4.Press Shift after dragging to lock sides, move bottom edge.
5.Release Shift, keep button pressed to reposition right edge. Press Shift again to switch edges.
Command + Shift + 5 (Various Mac Screenshot options)


This combo triggers a panel at the bottom of the screen in macOS 15 Sequoia offering screenshot options. Capture your entire screen, a window, or a section using three buttons. Record your entire screen or a part with two video buttons. The X button or Escape key closes the panel. The Options button lets you select a save location (Desktop, Documents, etc.) and set a 5-10 second delay. The Show Floating Thumbnail feature, enabled by default, displays a preview in the lower-right corner, like iOS. You can disable it on Mac. Also, choose to display the mouse pointer in screenshots or videos. If the panel obstructs your view, drag its left edge to a new position.
Command + Shift + 6 (Touch Bar MacBooks)
Did you know that if you have a 16-inch MacBook Pro or another model with the Touch Bar, you can take a screenshot of what's currently displayed on it?
To take a very wide and skinny screenshot of your Touch Bar, simply press Command-Shift-6.

How to Edit Screenshot and Beautify Screenshots
Now that you have your screenshot, it's time to make it look its best. Here are some tips and techniques to edit and beautify your screenshot:

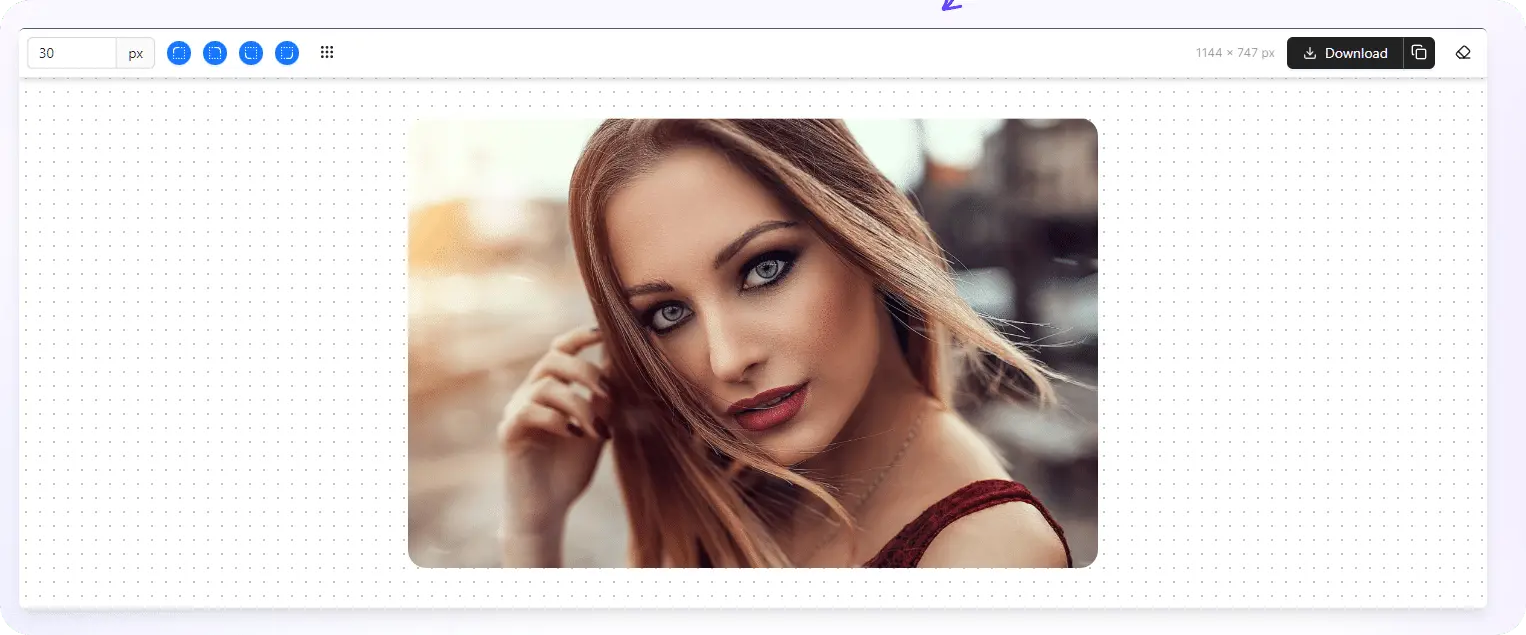
Crop and Resize: Use Amagicsoft Photo Editor to crop your screenshot and remove any unnecessary parts. You can also resize the image to make it more suitable for sharing or posting online.
Adjust Brightness and Contrast: Use the brightness and contrast tools in your image editor to make the colors pop and enhance the visibility of important details.
Add Annotations: Highlight important information or add context to your screenshot by using text, arrows, or shapes. This is especially useful for explanatory screenshots or tutorials.
Apply Filters or Effects: Many image editors let you apply filters or effects to enhance your screenshot's visual appeal. Try using a sharpen filter to clarify the image or a vignette effect to focus attention on the image's center.
Save in High Quality: When saving your enhanced screenshot, ensure you select a high-quality file format like PNG or JPEG to maintain the image quality.
Conclusion
Taking and beautifying screenshots is an invaluable skill that significantly enhances your communication and presentations. By following the tips and techniques outlined in this article, you can effortlessly capture and refine your screenshots, transforming them into visually appealing and professional-looking images. Therefore, whenever you need to share information or document something on your screen, remember to capture a screenshot and apply a touch of beautification!
Here Amagicsoft Image Toolbox is ready to help. Check the Start Photo Editor below to use Amagicsoft Image tools for free.


 Subscribe Now
Erin Smith
Subscribe Now
Erin Smith
Jun 23, 2024
Updated:Feb 09, 2025