Removing BitLocker Encryption: A Comprehensive Guide

 Summary:
BitLocker encryption is a powerful tool for securing your data, but there are times when you may need to remove it. Whether you're upgrading your system, troubleshooting, or simply no longer need the encryption, this guide will walk you through the process of removing BitLocker encryption on Windows 10.
Why Remove BitLocker Encryption?
• Preparing a drive for reuse or repurposing.
• Resolving performance issues caused by encryption.
• Simplifying access to files without the need for decryption
Whatever your reason, the process of removing BitLocker is straightforward when you follow the right steps.
How to Remove BitLocker Encryption on Windows 10
1. Press the Windows key + S and type "BitLocker."
2. Select Manage BitLocker from the search results.
3. In the BitLocker management window, find the drive from which you want to remove encryption.
4. Click on Turn off BitLocker.
5. A prompt will appear asking if you're sure you want to decrypt the drive.
6. Click Turn off BitLocker to begin the decryption process.
7. The time it takes to remove BitLocker encryption depends on the size of the drive and the amount of data stored on it.
8. Once complete, the drive will no longer be encrypted.
Things to Consider Before Removing BitLocker
Before removing BitLocker from a drive, keep the following in mind:
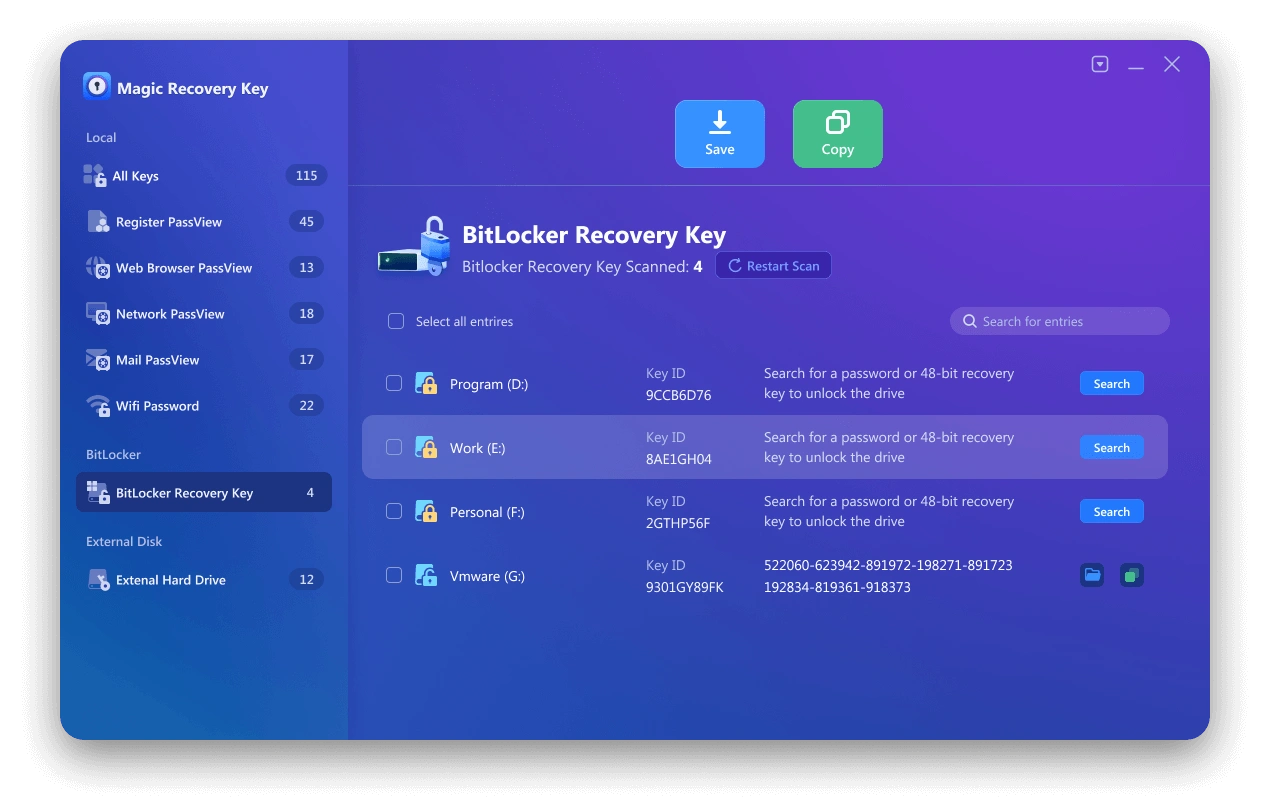
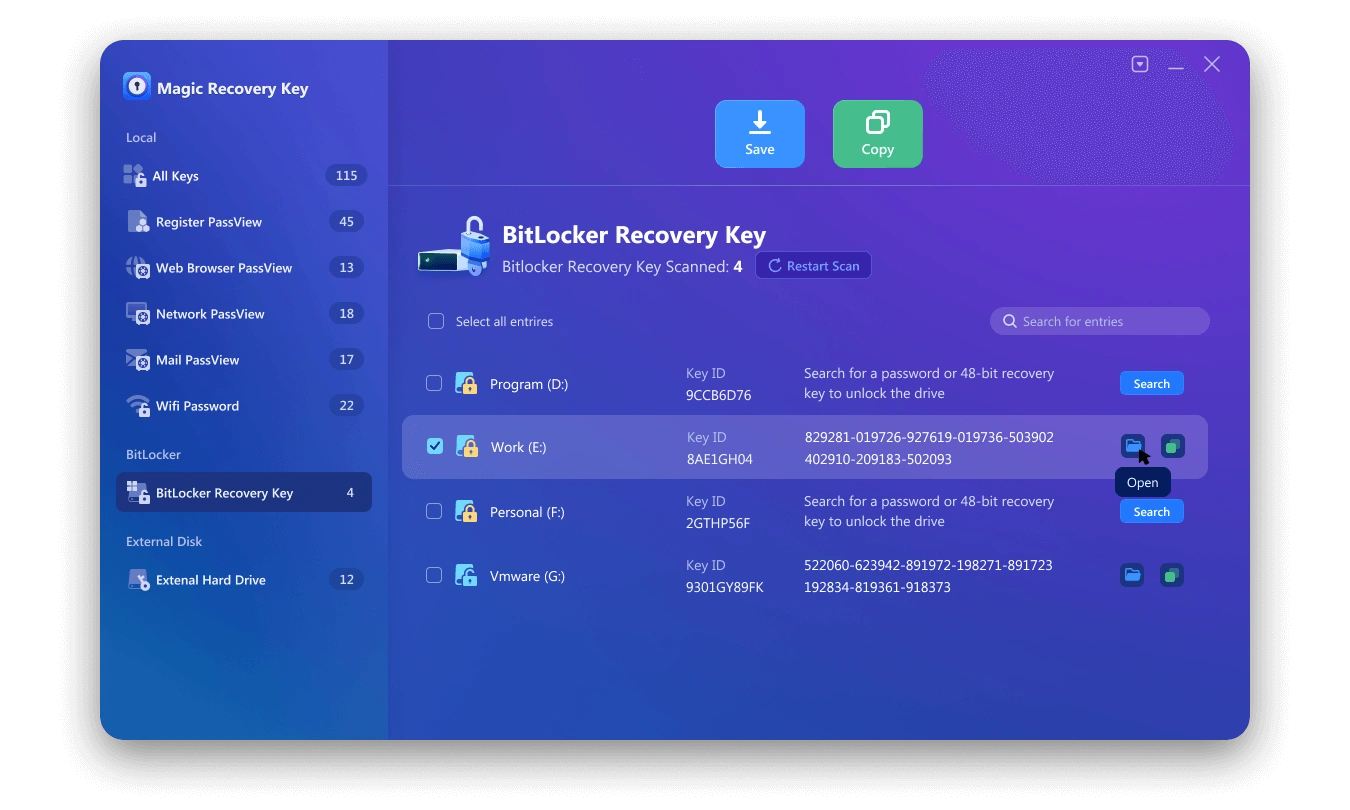
• Backup Your Data: Ensure all important files are backed up before starting the decryption process. There are many ways to find bitlocker key, such as using command line, using Group Policy, finding it in Microsoft account, using third party software. The easiest method recommended here is to use Magic Recovery Key.
1. Please download and install Magic Recovery Key from a reputable source to proceed.
Support Windows 7/8/10/11 and Windows Server
2. Then open the software and select BitLocker Recovery Key in the left menu.
• Administrator Access: You'll need administrator privileges to turn off BitLocker.
• Drive Usage: If the drive is in use, the decryption process may take longer or require a system restart.
Conclusion
Removing BitLocker encryption is a simple yet important task for Windows 10 users. Whether you're removing BitLocker from a drive to improve performance or repurpose the drive, following the steps above will ensure a smooth process.
 Erin Smith
Feb 10, 2025
Updated:Feb 10, 2025

Subscribe to know first
Our mail pigeon will bring you our best deals and nows about Magic apps.
 Recovery Key
 Photo Editor
 Screenshot Beautifier
 Photo To Rounded
 Image Compressor

 Table of Content




 Subscribe Now
